Introduction
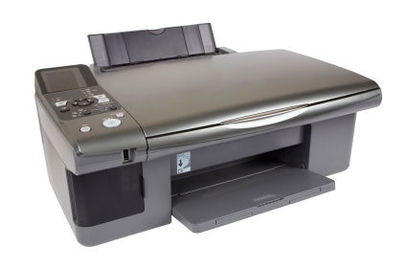
An all in one printer fax scanner is a great solution for all of your office technology needs. There is no reason to have one device for each one of these features, when you can simply have an all in one product that does it all and more. Not only will this product save you space in your home, but it is also very simple to install and start using. All you will need to get started is a computer, your new all in one printer fax scanner, and an available wall outlet.
Step 1
Start by connecting the all in one printer fax scanner to your computer. This can be done by inserting the cord into the correct slot on the printer and the other end will plug into your computer. Then plug in the power cord to your available wall outlet spot. Inser the installation disc into the computer and follow the step by step prompts, which will instruct you with what to do next. Do not exit out or shut off your computer while the printer fax scanner installation is still running. Once complete, you can begin to test and use this great new device.
Step 2
You can now begin to print from your all in one printer fax scanner. Open up a document that you would like to print and click the print button. Select your preferences for the print page, such as the number of copies, color, and page format. Make sure that your new all in one printer is selected as the default print device. If it is not selected, it will not print. Click to print and watch it at work. You can do this for any document that you would like to print from your computer or online.
Step 3
If you'd like to print a photograph, insert high quality photo paper into your all in one printer fax scanner. You can then open up the picture that you're interested in printing, along with the software that came with your printer. This software should allow you to select photo printing and pick the type of paper and paper size that you will be using to print your photograph. Click print and your photos will start printing.
Step 4
To scan with the printer fax scanner, just insert the document or photo into the scanner bed and close the lid. If there is a button on your all in one printer that says scan, click on that. Otherwise, open the software on your computer that came with the printer. This should also have a scan option, where you can preview your scan and click to begin the scan process. Once your file scans, you can save it to your computer and view it on there whenever you please. Scanning is a great way to post photos online and send others information instead of mailing it.
Step 5
Faxing with the all in one printer fax scanner is simple. If you have a dedicated phone line to fax from, plug the printer into the phone jack. Now you can insert the document into the scanner bed that you would like to fax. Click on the fax button that is located on the printer and enter in the phone number. Click enter for your document to begin faxing. Do not cancel in the middle of a fax, as it may take some time to go through.
Tips
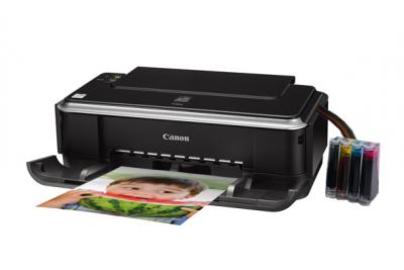
Purchase an all in one printer fax scanner that has good reviews and all of the features that you're interested in having. Some popular brands included Canon, Kodak, Epson, and HP.
Comments
Most Recent Articles
-
About the Use Of Best Quality Inkjet All in One Printers
Using inkjet all in one printers are very common in most households these days. When you use an all in one printer, you do not have to worry about taking up too much space in your home, yet ...
-
How To Send a Fax on An All in One Copier Printer Fax
There are many functions that can be done when using a copier printer fax machine. This is also known as an all in one device. Instead of having different products that perform these functio...
-
What Are the Advantages To An All in One Fax Printer Scanner Copier?
A fax printer scanner copier is also known by many as an all in one printer. With this type of printer, you can do so much more than just print with it. A fax printer scanner copier serves m...
-
How To Discover Great Deals For Fax Printers
Fax printers are also known as all in one devices. This type of printer is able to serve as a device for multiple different functions. You can hook fax printers up to your computer to print ...
-
How To Setup An All in One Scanner Printer Fax Copier
A scanner printer fax copier is more commonly known by users as an all in one printer. An all in one printer serves as a device that performs multiple functions. Instead of having a copy mac...
-
Steps To Using a Scanner Fax Printer And Copier
A scanner fax printer copier is also more commonly known as an all-in-one printer. There are many different brands that make these types of products all rolled in to one, easy to use device....
-
How To Use Scanner Flatbed
A flatbed scanner is what you can use to scan photographs and documents on to your computer. A flatbed scanner is typically used in businesses and for home use. Do you have an old photograph...
-
What Supplies Are Needed For a Printer?
When you are hooking up and installing a printer to your computer, there are some printer supplies that will be needed. If you have purchased a new printer or all in one device, this should ...
-
Discover 8 Tips For Scanner Printer All in One
A few years ago, one had to purchase scanner, printer, photocopier and fax machine separately. But now with technology advanced, one can find a scanner printer all in one without wasting mon...
-
The Best Offers on Printers For Sale
There are ton of great deals on printers for sale at many different retailers. If you are looking into buying a new printer for your computer, why not take advantage of a sale and get your p...
-
How To Set Up a Printer Scanner Fax Copier
Setting up your printer can be a tough job, especially if you do not have any prior technical knowledge. Especially when your machine is multifunctional printer scanner fax copier machine. T...
-
the Best All in One Photo Printer
A photo printer can be a thermal dye printer, but is usually an inkjet printer having the ability to print high-quality digital photos and other vibrant color projects. A photo printer may e...
-
The Best Brand Of All in One Photo Printer
Canon makes some of the best all in one photo printer products. If you are looking for a product that does more than simply print standard documents and images, an all in one photo printer c...
-
How To Set Up An All in One Scanner Fax Copier
An all-in-one scanner/fax/copier is otherwise known as a multifunction device. A multifunction device has combined all the functionality of all these three devices into one. The main advanta...
-
Which Scanner Uses a Barcode
A scanner barcode is an optical machine that represents data by varying the parallel lines and its width and spacing. It is a readable optical machine that can represent data by scanning. As...